

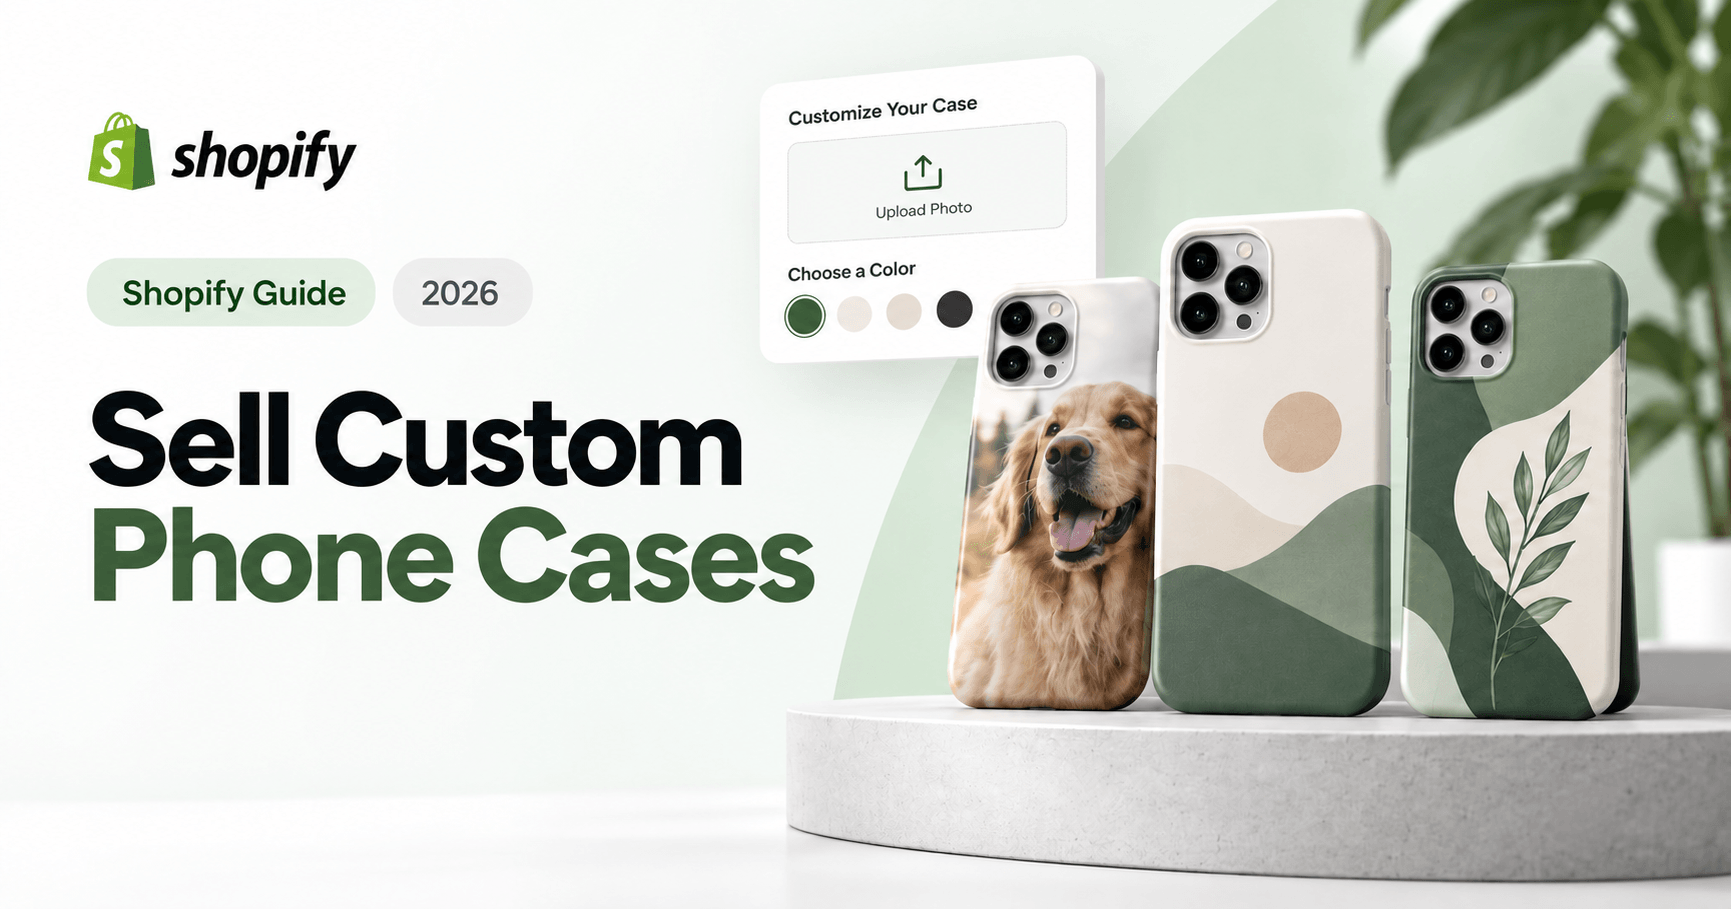
A customer chooses their phone model, uploads a favorite photo, adds a name, and places an order. That is the shopping experience to build when selling personalized phone cases: straightforward for the buyer and detailed enough for you to produce the correct design.
To sell custom phone cases on Shopify, you need a case supplier, product listings, a way to collect personalization details, and a reliable fulfillment process.
Wow Custom Product Options can handle the storefront customization layer with text fields, image uploads, swatches, conditional logic, paid add-ons, and live previews, depending on your plan.
This guide walks through the setup, using a customizable photo-and-name phone case as the example.
1. Decide What Kind of Custom Phone Cases to Sell
Start with a specific offer rather than trying to support every design, phone model, and case material immediately.
For example, your first collection could focus on minimalist name cases, pet-photo cases, matching gifts, or business-logo cases. These are possible directions to test - not claims about which niche will sell best.
Example offer: A personalized phone case with a customer-uploaded photo, an optional name, three text colors, and optional gift packaging.
Before building the product page, decide what customers are allowed to change. Will they choose from fixed layouts, or will you offer custom artwork services? Can they add one photo or several? Is personalization included in the base price?
Write these decisions down as production rules. For example:
One photo per case. Names can contain up to 12 characters. Three approved fonts. One fixed text position.
These sample limits are not universal requirements. Choose limits that your designs and printing process can accommodate, then use them consistently in your product descriptions and customization fields.
You can view the product demo here: Demo Link
2. Choose Your Production and Fulfillment Method
You can source phone cases through a print-on-demand provider, work with a manufacturer or printing partner, or customize cases yourself. Print-on-demand lets you arrange production after an order is placed instead of purchasing a stock of finished designs upfront.
Evaluate a supplier against the product you intend to offer. Confirm its supported phone models, printable areas, artwork requirements, production costs, shipping destinations, and production times.
Order a sample of the actual case - not just a different product from the same supplier. Check fit, print quality, and how the artwork appears on the finished item. Samples also give you physical products to photograph.
For your own sample test, try both a photo design and a text-heavy design. Check whether small lettering remains legible and whether important parts of the artwork sit too close to the camera opening or edges.
Choose the production process before configuring the customizer. The options you sell should reflect what your supplier can actually make.
3. Build Your Shopify Store and Base Product
Complete the essential store settings before launching: your domain, theme, payment provider, shipping settings, taxes, contact information, and store policies. Organize products, test orders, and review the storefront before making it public.
Next, create your base phone-case product from the Products section of Shopify. Add a descriptive title, product images, specifications, and a clear explanation of what customers receive.
Example product title: Personalized Photo Phone Case - Add Your Picture and Name
Your description should answer practical questions: Which phone models are supported? What material is the case made from? What customization is included? How will the design be printed? What happens after the order is placed?
Use specific, supported product details rather than vague claims such as "unbreakable" or "the best protection."
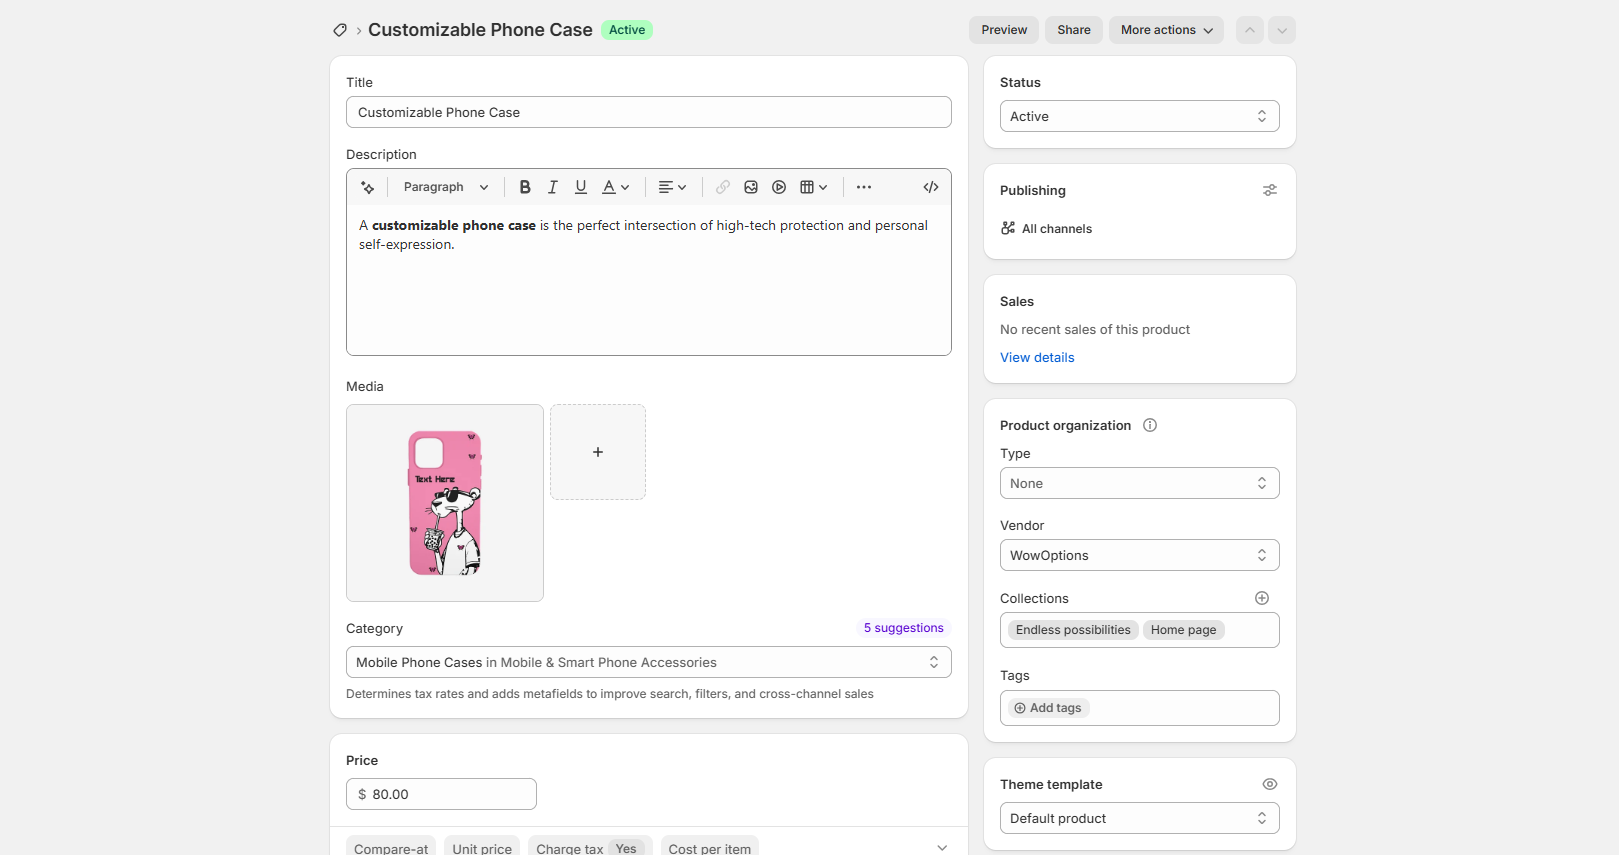
Keep physical variants separate from personalization
Use Shopify native variants for the physical item you must fulfill - such as the exact phone model and case type. Use Wow Custom Product Options for the buyer's name, photo, and design preferences.
|
Question |
What identifies it |
|---|---|
|
Which case should be produced? |
The physical Shopify variant identifies that. |
|
What should be printed on it? |
The personalization inputs supply those instructions. |
Avoid using an unconnected customization dropdown as the only record of a phone model when your supplier or inventory system needs a specific variant or SKU.
4. Install and Activate Wow Custom Product Options
Find Wow Custom Product Options, developed by WowApps.io, in the Shopify App Store. Install it for your store and review the requested permissions.
The app setup requires adding its app block to the product template and enabling its app embed. Save your theme changes after completing these activation steps. Installing the app alone is not the complete storefront setup.
Choose a plan that supports your intended experience
As checked on September 22, 2026, the Shopify App Store listed a free plan, Pro at $4.99 per month, and Advanced at $12.99 per month, alongside an Enterprise tier. Pro included file uploads and character limits; Advanced added the Live Customizer and advanced conditional logic. These are app charges, separate from your Shopify subscription. Review the current plan details before subscribing.
For the photo-and-name example, check upload support first. For an interactive visual preview, also check that your selected plan includes the Live Customizer.
Create and assign an option set
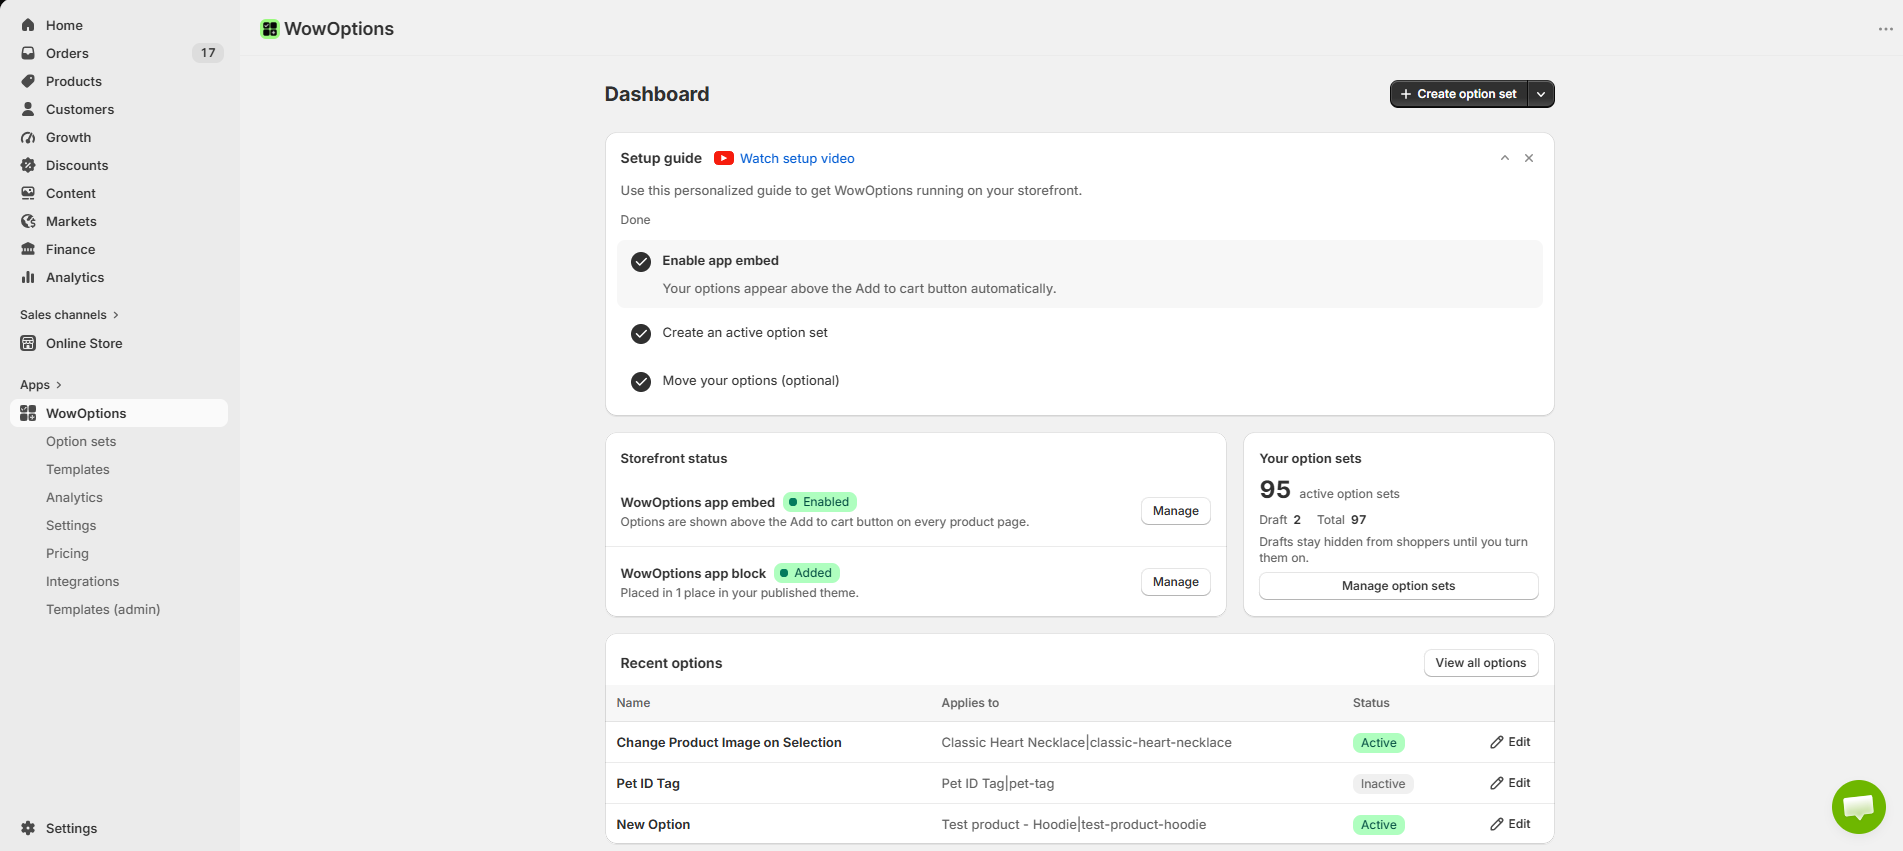
In the app dashboard, open "Options Set List" and select "Create Option Set." Start from scratch or adapt a suitable template.
Give the set a clear internal name, such as "Photo and Name Phone Case." In the product-assignment settings, apply it to the specific phone-case product or relevant collection, then save it.
For a first launch, assign the set to one product so you can test the complete workflow before expanding it.
5. Add the Phone-Case Customization Fields
Wow Custom Product Options supports field types including text inputs, dropdowns, swatches, checkboxes, and file uploads. It also supports reusable option sets and additional charges for selected options.
Here is an example configuration to adapt:
|
Customer choice |
Suggested field |
Example setup |
|---|---|---|
|
Personalization style |
Radio buttons |
Photo only, name only, or photo and name |
|
Customer image |
File upload |
One image for the photo design |
|
Name or initials |
Short text |
A production-tested character limit |
|
Font style |
Dropdown |
Three fonts you can reproduce reliably |
|
Text color |
Color swatch |
Three approved print colors |
|
Background design |
Image swatch |
A small selection of prepared backgrounds |
|
Gift packaging |
Checkbox |
An optional paid upgrade |
|
Production note |
Long text |
Optional instructions for your review |
Note: This is a proposed product configuration, not a claim that every field is included in every plan.
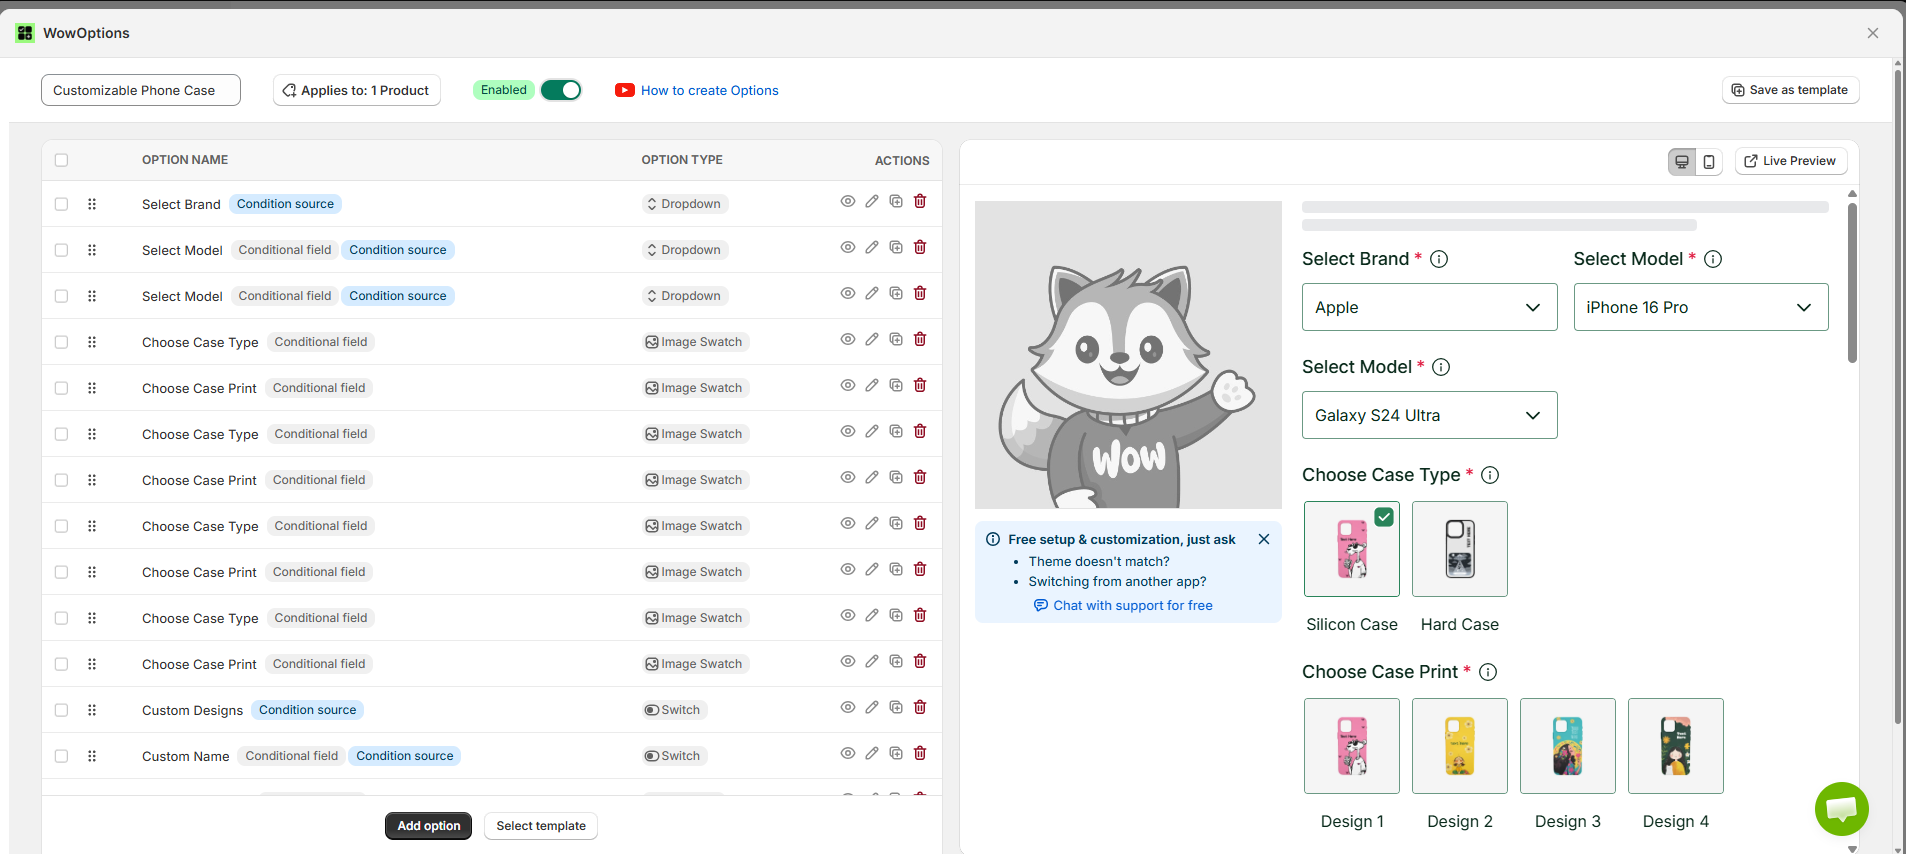
Use labels that tell customers exactly what to do. "Upload the photo you want printed" is clearer than "Upload file." "Enter the name exactly as it should appear" is clearer than "Custom text."
Set essential fields as required and add helper text where necessary. For photo uploads, publish the file-format and image-quality requirements agreed with your printer. Do not treat a successful upload as confirmation that the image is suitable for production.
Show only the fields relevant to each design
Use conditional logic to create a focused buying flow. For this example:
-
Photo only: Show the upload field and hide the name-related fields.
-
Name only: Show the name, font, and text-color fields.
-
Photo and name: Show both groups.
Configure the conditions on the dependent fields, then test each path. Pay particular attention to what happens when a shopper changes their mind. A hidden field should not leave an unwanted charge or confusing instruction attached to the order.
Charge for defined extras
The app supports additional pricing for selected options. Use this for services or upgrades with a clear scope, rather than adding unexplained charges.
For example, you might include standard personalization in the base price but charge separately for gift packaging or a manually prepared photo layout. State exactly what each upgrade includes.
6. Configure the Live Phone-Case Preview
Wow Custom Product Options' Live Personalizer workflow lets you connect supported fields to a visual product preview. For a phone case, those fields can include uploaded artwork, text, font choices, and text colors.
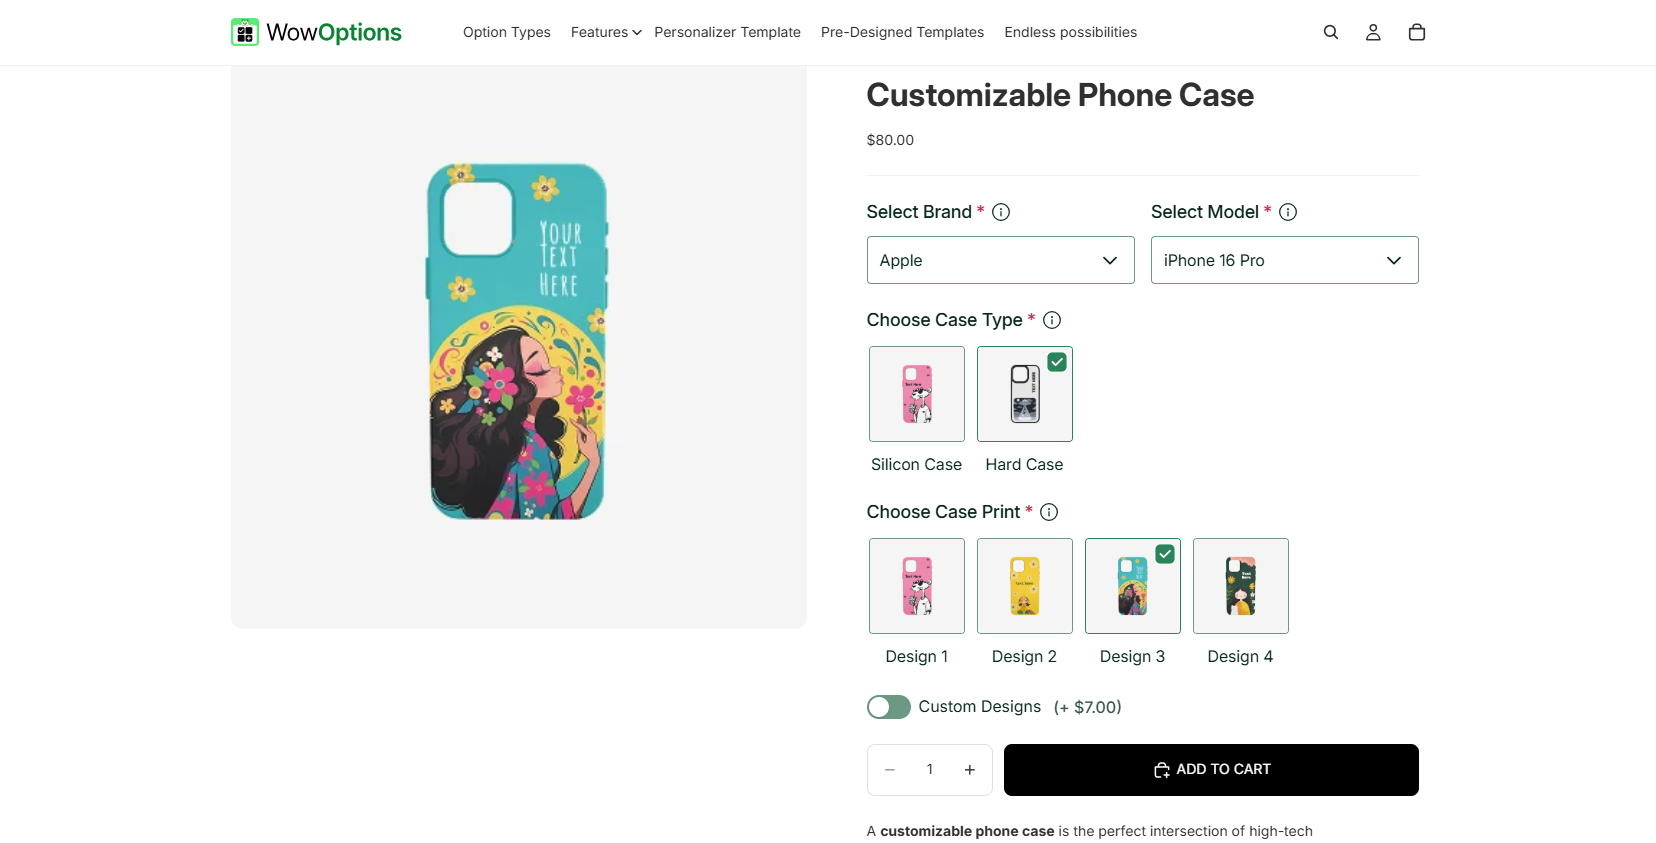
Use a clean product image and define the area where customization may appear. Configure the print area for dimensions, position, and rotation, and decide whether customers can move, resize, or rotate personalized elements.
For your phone-case setup, verify the preview against each physical model. Do not assume that a layout suitable for one camera opening will suit every other case.
Keep important faces, names, and logos inside the production-safe area. Allow free positioning only when your fulfillment process can reproduce the selected placement.
Important: A storefront preview is not, by itself, proof of print-ready artwork. Before launch, confirm how the final design and its placement will reach the person or system preparing the print file.
7. Price the Case Around the Full Order Cost
Build your price from your actual costs, including the work required to prepare a personalized order.
The following example is illustrative. It is not a supplier quote or Shopify fee schedule.
|
Cost component |
Assumed cost per order |
|---|---|
|
Case and printing |
$11.00 |
|
Packaging |
$2.00 |
|
Shipping paid by the seller |
$4.00 |
|
Payment-processing allowance |
$1.50 |
|
Artwork handling and reprint allowance |
$2.50 |
|
Total assumed variable cost |
$21.00 |
At a selling price of $35, this example leaves $14 before advertising and fixed overhead.
Spending $6 to acquire that order would leave $8 before fixed costs such as subscriptions, equipment, and other overhead. That remaining amount is not automatically net profit.
Repeat the calculation for each meaningful configuration. A gift-packaging upgrade must cover its extra packaging and handling. A custom-layout service must account for the time spent preparing and revising it.
For example, a $35 base case with a $5 layout service and $3 gift-packaging upgrade totals $43 before shipping charges or taxes that may apply. Test that exact combination in your cart and checkout.
Pricing rule: Every option should have a defined cost, production instruction, and customer-facing price.
8. Establish the Personalization-to-Production Workflow
The next step is deciding what happens after checkout.
Use the following as a proposed operating sequence:
Review the order. Confirm the physical case variant, customer text, uploaded image, selected design options, and any paid extras.
Prepare or validate the artwork. Check spelling, placement, image suitability, and the correct production template. Resolve unclear instructions before printing.
Release the order to production. Send the approved design and matching case specification to your supplier or production team, then record shipment tracking when available.
Do not assume that installing a product-options app creates an automatic connection to your printer. Verify how customer inputs, original files, preview information, and final artwork move through your particular setup.
If you use a print-on-demand service, review that provider's rules for personalized orders. A provider may use its own personalization workflow, so confirm whether data from an unrelated app becomes production artwork automatically.
Until the handoff is proven, use a review step before releasing personalized orders.
Also document your production window, delivery estimates, correction process, cancellation requests, and handling of damaged or incorrect products. Make this information easy to find alongside your store policies and contact details.
9. Test the Entire Order, Not Just the Product Page
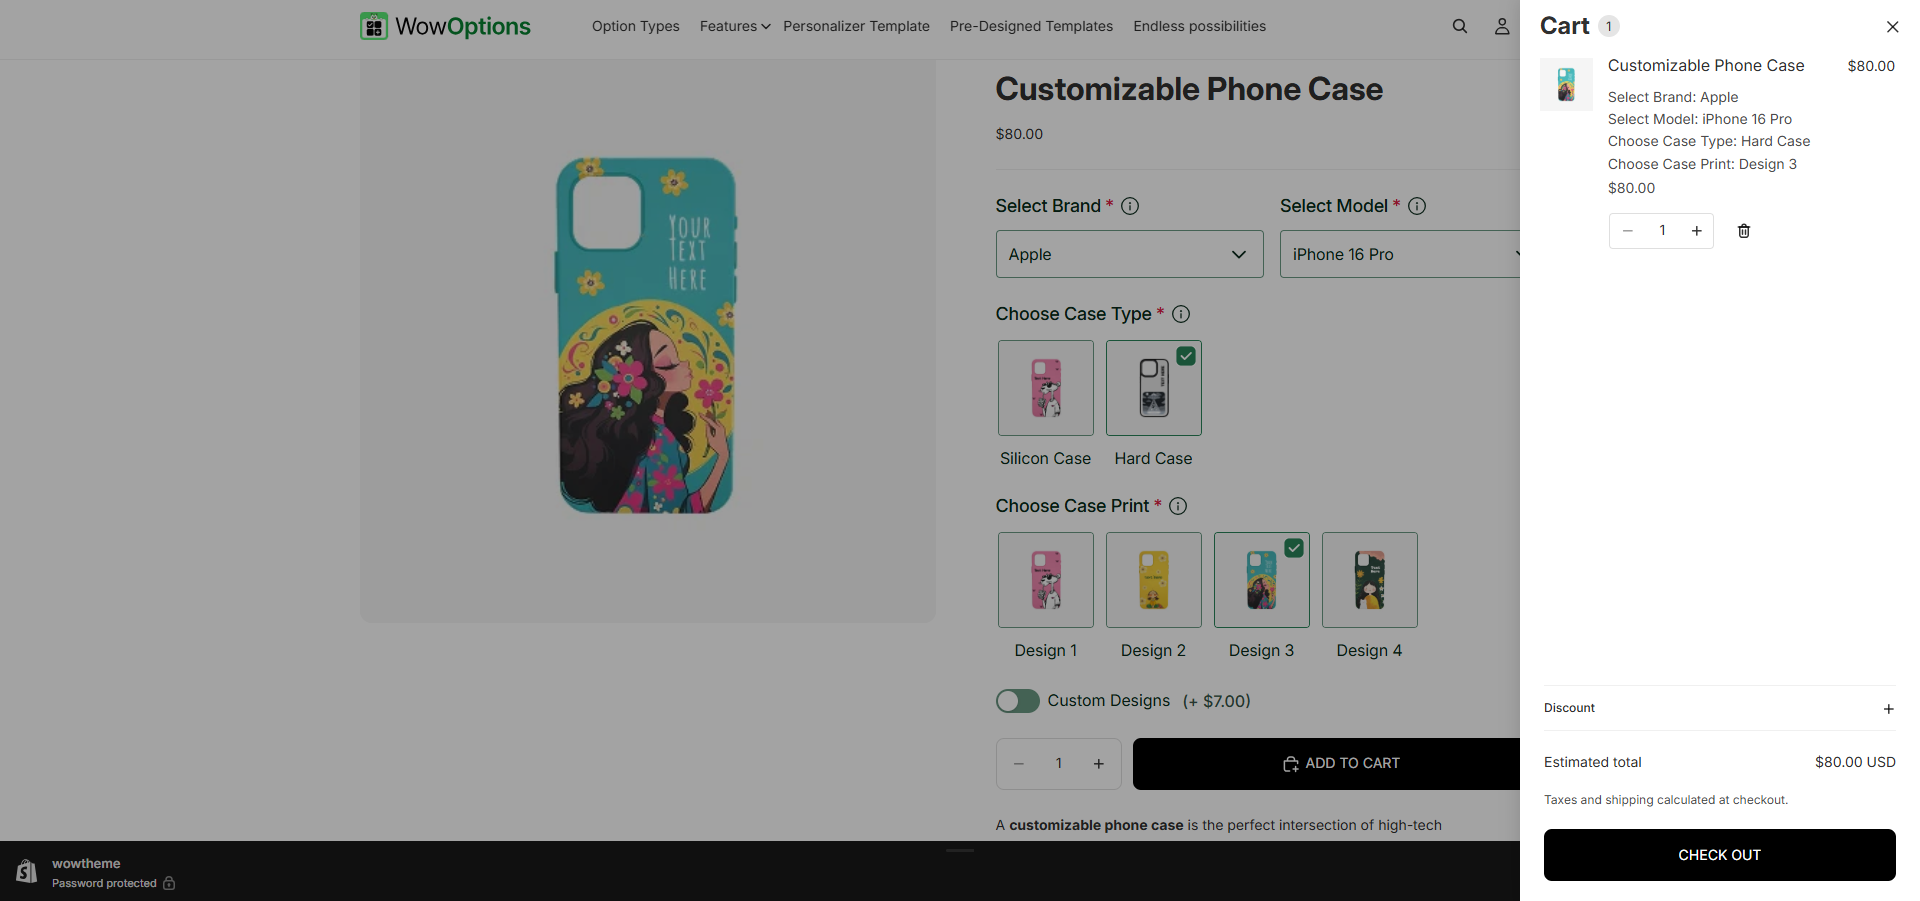
Place test orders to verify checkout and settings such as inventory, shipping, notifications, and taxes. If you use a test-payment method, remember to deactivate test mode afterward so customers can place live orders.
For a personalized phone case, organize your testing around three areas:
-
Customer inputs: Try empty required fields, long names, different photo shapes, every conditional path, and two differently personalized cases using the same physical variant.
-
Prices and checkout: Check add-on totals, quantity changes, discounts, cart edits, and any express-purchase buttons you expose.
-
Production handoff: Confirm that the resulting order contains the correct variant and all necessary personalization details, and that your production team can retrieve the correct files.
Run the journey on both desktop and mobile. Check discount codes, shipping rates, notifications, and the fulfillment flow.
Finally, put a representative personalized order through production. Compare the finished case with the order instructions and preview before sending paid traffic to the listing.
10. Launch With Content That Demonstrates the Product
Build your launch content around the offer you have actually tested.
For example, create a short demonstration showing a blank case, the customization process, the preview, and the finished physical product. Use your own sample photography to show details that a mockup cannot establish.
For search visibility, write unique product titles and descriptions using terms that accurately describe the offer. Use relevant keywords naturally in page titles, meta descriptions, image alt text, and page content. Avoid copying the supplier's description or forcing keywords into every sentence.
Possible phrases to investigate include "personalized photo phone case," "custom name phone case," and a phrase combining the customization style with a supported phone model. These are keyword ideas - not verified search-volume findings.
Sample product introduction: Make your everyday phone case personal. Upload a favorite photo, add a name, and choose from our available design options. Select your exact phone model before adding the case to your cart.
Adjust that copy to match the features and production promises you can fulfill.
After launch, track conversion rate, cart abandonment, returns, and support questions. Also keep a simple internal record of personalization errors and artwork-preparation time. A popular customization option may still need redesigning when it repeatedly creates production problems.
Frequently Asked Questions
Do I need printing equipment to sell custom phone cases?
Can customers upload photos with Wow Custom Product Options?
Do I need a Shopify variant for every customer's name?
Does a live preview guarantee automated fulfillment?
No. Confirm the complete connection between the storefront, order data, artwork preparation, and production provider. Previewing a design and submitting a production-ready order are separate steps.
Start With One Product You Can Fulfill Reliably
The first launch does not need hundreds of designs. It needs one clear offer, accurate case variants, understandable customization fields, transparent pricing, and a tested path from checkout to production.
Use Wow Custom Product Options to build the personalization experience, then validate the physical result. Once a customer can choose, customize, pay, and receive the correct case without avoidable confusion, expand the collection one proven configuration at a time.