

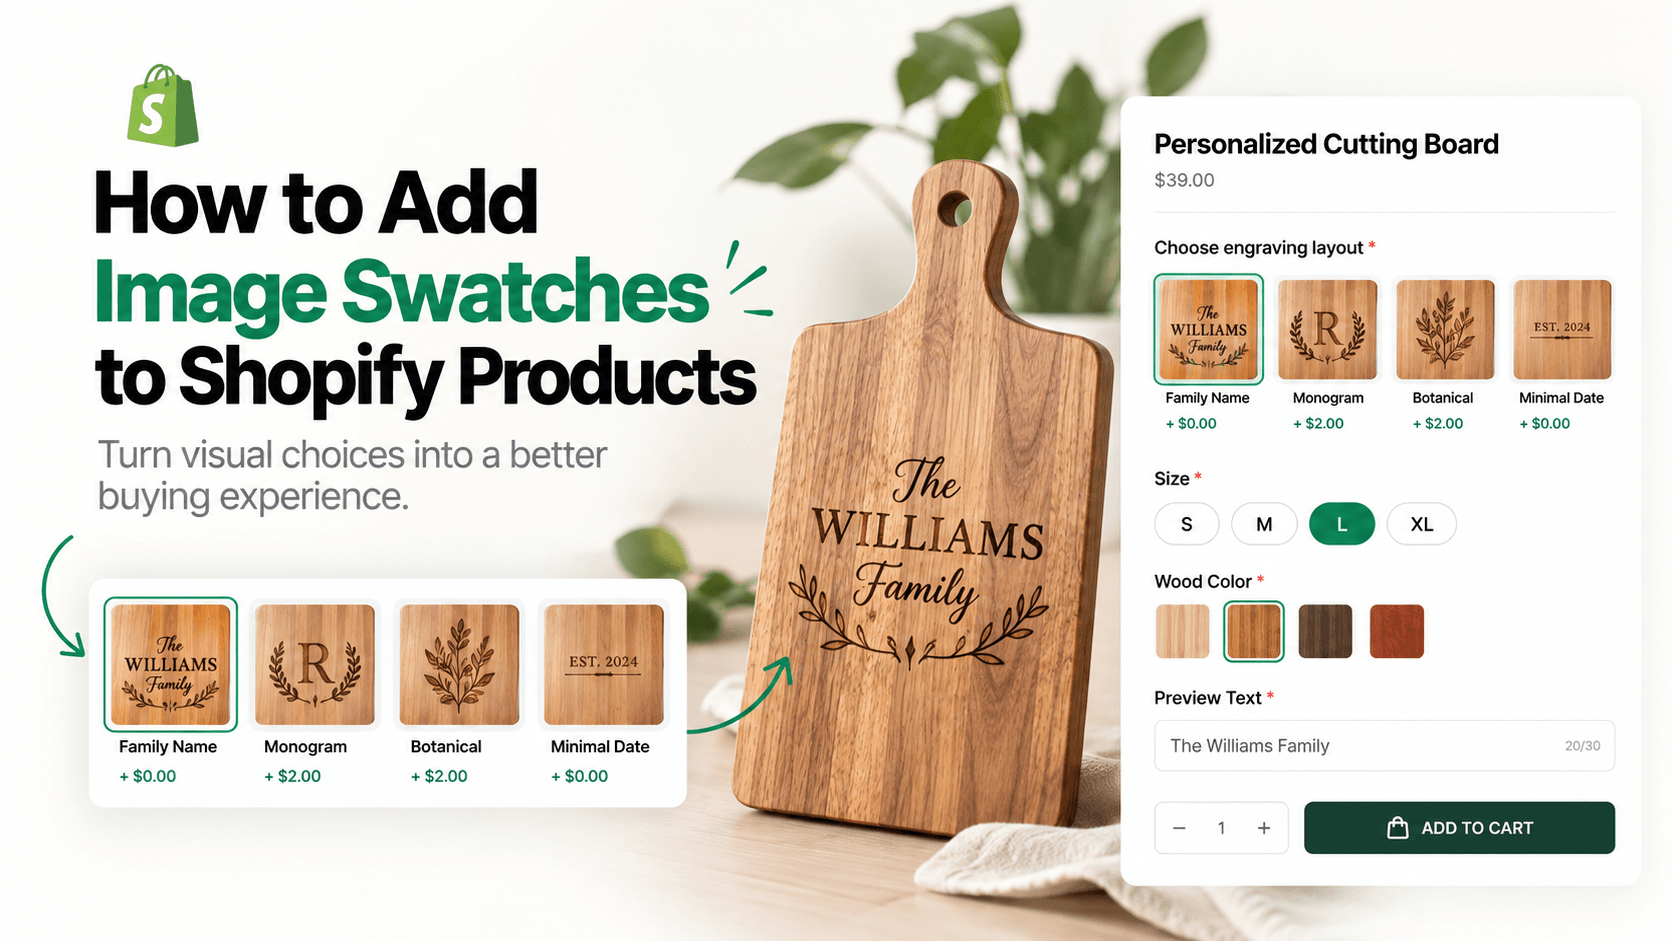
Image swatches let shoppers choose an option by clicking a thumbnail instead of reading a text label. They work especially well for patterns, textures, layouts, shapes, finishes, and design templates where a word such as “Style B” does not tell the customer enough.
The setup is straightforward, but there is one important architecture decision first: does the image swatch represent a real inventory variant, or is it a non-inventory customization choice?
Quick answer
To add image swatches to a Shopify product:
- Decide what each thumbnail represents and whether it maps to inventory.
- Keep real stock-tracked variations in Shopify variants or another inventory-aware system.
- Use an image-swatch field for visual customization choices such as pattern, layout, icon, engraving template, or print design.
- Upload consistent, clear thumbnails and give every image a written label.
- Add price differences or conditional rules only where the product requires them.
- Connect the selection to a live preview when the chosen visual should appear on the product image.
- Test the selected value in cart, checkout, order details, and fulfillment.
This guide uses WowOptions for the custom-option route. Its public Shopify App Store listing includes swatches, paid add-ons, conditional logic, and live product personalization, and WowOptions includes a dedicated Image Swatch field.
What is an image swatch?
An image swatch is a small clickable image that represents one selectable value.
Examples include:
- fabric patterns;
- wood finishes;
- phone-case designs;
- embroidery icons;
- engraving layouts;
- monogram templates;
- cake decoration styles;
- gift-card designs.
A shopper can understand those choices faster from pictures than from labels such as Pattern 1, Pattern 2, and Pattern 3.
Image swatches are not the same as the main product gallery. The gallery shows the product. The swatches are controls that make a selection.
Image swatches vs color swatches
Use a color swatch when a flat color is enough to communicate the choice.
Use an image swatch when the visual contains information beyond one color.
| Choice | Better control |
|---|---|
| Solid black, white, red | Color swatch |
| Marble, floral, plaid, camouflage | Image swatch |
| Walnut vs oak grain | Image swatch |
| Heart vs star icon | Image swatch |
| Monogram layout A vs B | Image swatch |
| Plain thread color | Color swatch |
| Embroidery patch design | Image swatch |
If the customer needs to compare texture or composition, use an image.
Decide whether the swatch represents inventory
This is the most important setup decision.
Suppose a sofa is stocked in three physical fabrics. If each fabric has its own variant, SKU, inventory, lead time, or price, keep that relationship in Shopify or another inventory-aware product system. The storefront can still present those variants visually, but the swatch should not become a disconnected second source of truth.
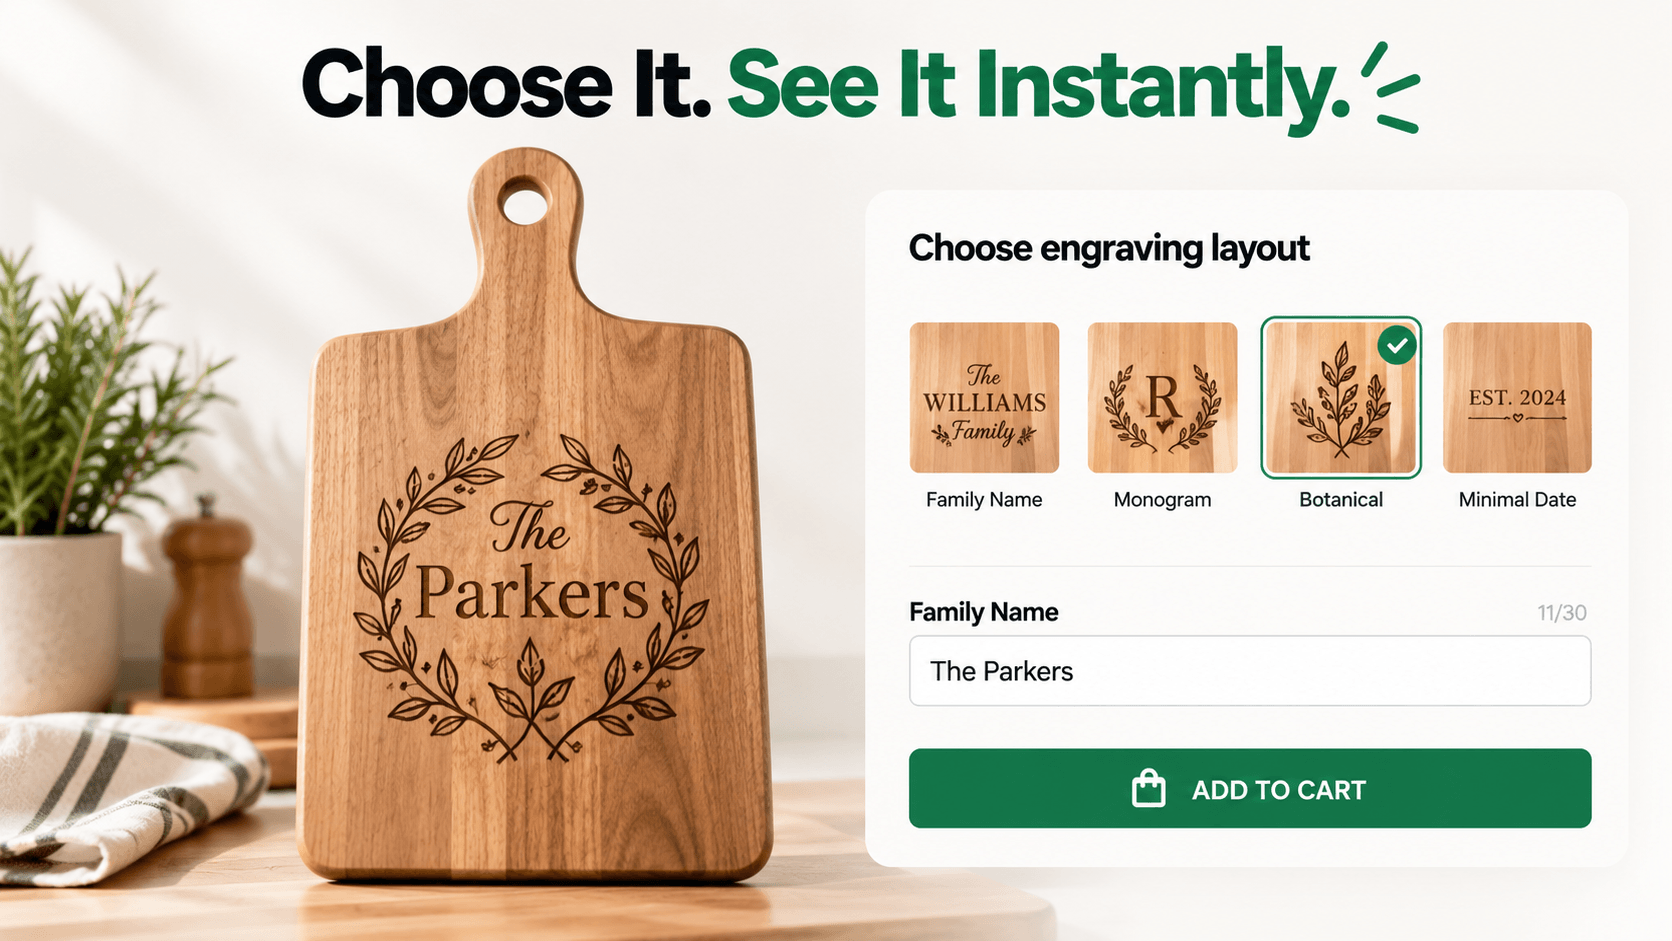
Now suppose a cutting board is the same base SKU and the customer chooses one of six engraving layouts. Those layouts are not separate inventory items. An image-swatch custom option is a natural fit.
The same principle applies to phone-case print templates, gift-card designs, icons, and decorative patterns that are applied after purchase.
Before you create image swatches
Prepare:
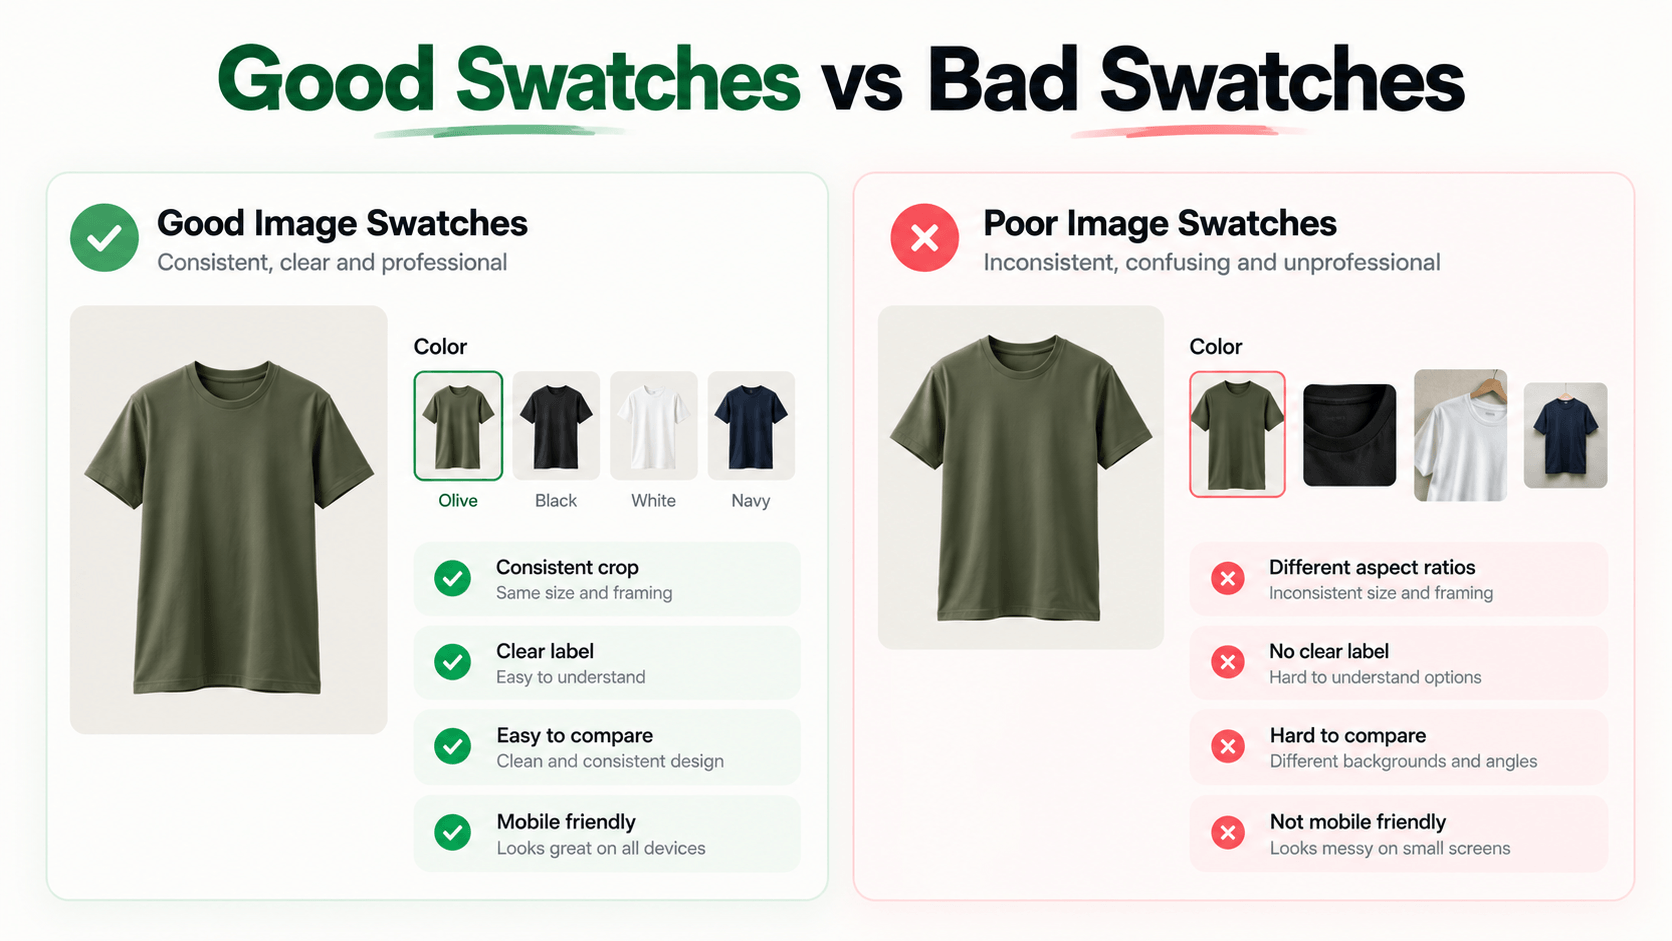
- a clear written name for every option;
- one thumbnail image per value;
- consistent crop and aspect ratio;
- a decision about single-select vs multi-select;
- any extra price per option;
- compatibility rules with other product choices;
- a plan for how the selected value appears in the order;
- the full-size visual or production file if the thumbnail is only a representation.
Do not use the tiny storefront swatch image as your production artwork unless that is deliberately how your workflow is designed.
Step-by-step guide: add image swatches with WowOptions
We will use a personalized wooden cutting board with several engraving layouts.
Step 1: Create the base product and real variants
Use Shopify variants for physical differences such as:
- board size;
- wood type;
- stocked finish.
The engraving layout is a custom option because it changes what you produce on the base item rather than representing a separate stocked board.
Step 2: Create an option set
In WowOptions, create an option set named Cutting Board Personalization and assign it to the relevant product.
Step 3: add the Image Swatch field
Add an Image Swatch option.
The WowOptions Image Swatch field includes a label, an image per value, pricing, single or multiple selection behavior, selection restrictions, sizing controls, and conditional settings.
For this example, name the field:
Choose engraving layout
Then add values such as:
- Family Name
- Monogram
- Botanical
- Minimal Date
Step 4: upload thumbnails that show the difference clearly
Keep all thumbnails consistent.
A practical editorial standard is:
- same aspect ratio;
- same product crop;
- same background treatment;
- same amount of whitespace;
- high enough resolution to stay sharp after theme resizing.
The customer should be comparing the design, not trying to interpret different photography styles.
Step 5: keep a text label with every image
A thumbnail can be ambiguous, especially on mobile.
Use meaningful labels such as Botanical Monogram instead of Option 3.
If your design system hides labels by default, confirm that the selected value is still clear to keyboard, screen-reader, and low-vision users. Do not rely on subtle image borders as the only indication of selection.
Step 6: choose single-select or multi-select intentionally
Most layout and finish decisions are single-select.
Multi-select makes sense only when the customer may genuinely choose several independent items. For example, a sticker pack could allow several designs, but an engraving layout should normally be one choice.
If you need two visual decisions, such as Front design and Back design, create two clearly labeled groups rather than one multi-select group.
Step 7: add extra pricing where a design costs more
If a premium design requires more engraving time, materials, or manual artwork preparation, attach an extra price to that value.
Do not price based on how “premium” the thumbnail looks. The charge should correspond to a real difference in the product or service.
Step 8: use conditional logic for compatible designs
Some layouts may only work with certain sizes or materials.
For example:
- Botanical layout only on Large board.
- Gold-fill design only on Dark Walnut finish.
- Three-name layout only when the shopper chooses Family Size.
Use conditional logic to hide choices that are not available for the current product configuration. WowOptions currently lists Advanced Conditional Logic on its Advanced plan.
Step 9: connect the image swatch to a live product preview
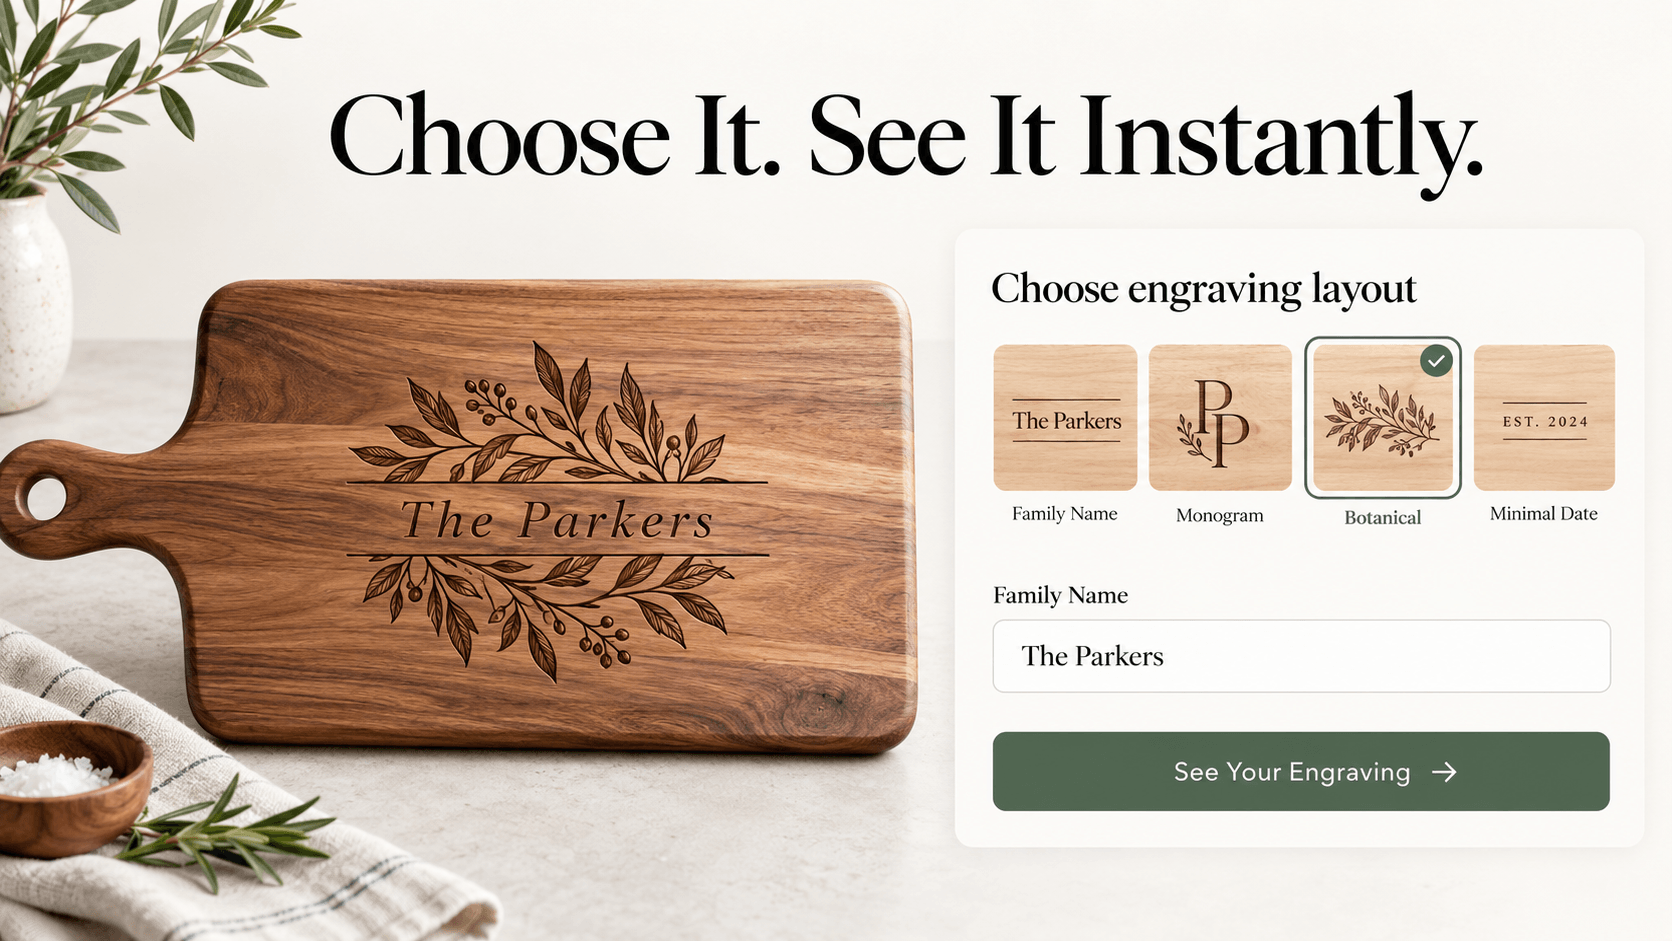
A swatch tells the shopper what they selected. A live preview can show how that selection appears on the actual product.
For the cutting-board example, clicking Botanical Monogram could update the preview design while the customer’s family name appears inside it.
WowOptions currently lists Live Customizer on the Advanced plan. The preview is useful when the swatch represents a design that is composited with text or artwork.
Step 10: test selection, price, and fulfillment data
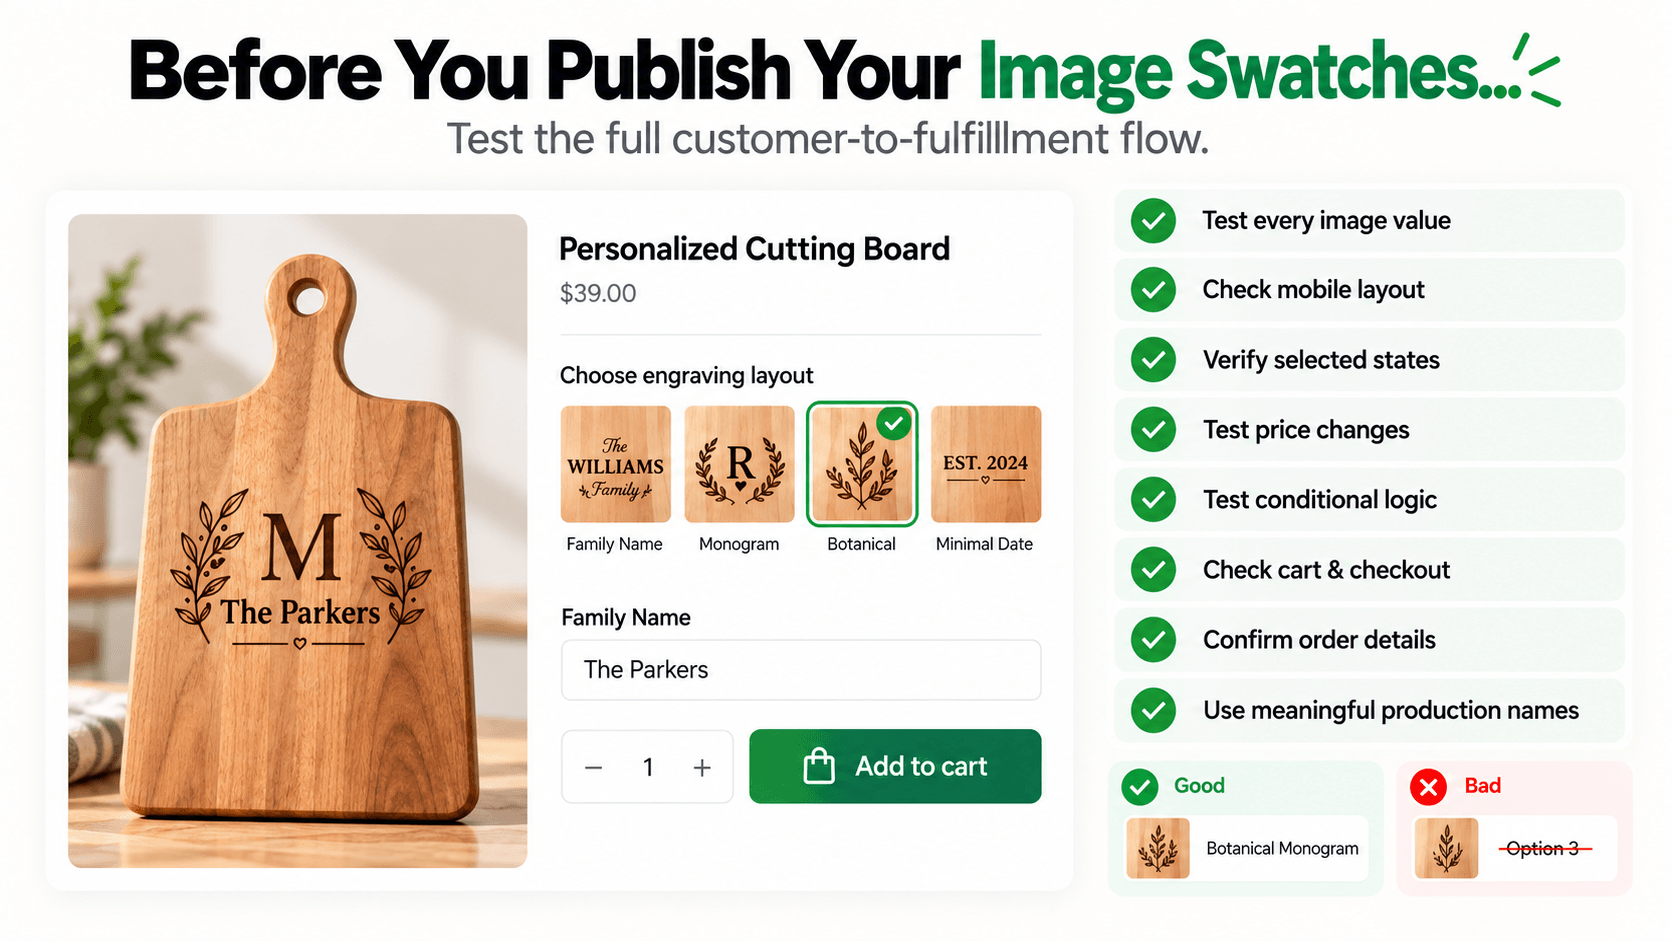
Test:
- every image value;
- long labels;
- mobile wrapping;
- keyboard focus and selected states where supported by the theme/app;
- price changes;
- conditional visibility;
- cart representation;
- checkout;
- order details;
- the production identifier your team uses.
If the order only says Option 3, the swatch setup is not finished. Your production team should see a durable, meaningful value such as Botanical Monogram.
Useful image-swatch examples
| Product | Image swatch represents | Keep in Shopify variants when… |
|---|---|---|
| Sofa | Fabric texture | Each fabric is a real SKU/inventory variation |
| Phone case | Print design | The design itself is not a stocked case variant |
| Cutting board | Engraving layout | Layout is applied after purchase |
| T-shirt | Artwork template | Base garment size/color remain variants |
| Jewelry | Symbol or charm style | Charm is not separately inventoried, or inventory is handled elsewhere |
| Gift card | Card design | Design is printed on demand |
| Cake | Decoration style | Decoration is production input rather than stocked inventory |
The right architecture depends on what must be tracked, not on which control looks nicest.
Common image-swatch mistakes
Using unlabeled thumbnails
Mixing different image crops
Showing an image that is not representative of the final choice
Using image swatches for inventory without a stock plan
Overloading the product page with dozens of thumbnails
Can Shopify use images for variant options without an app?
Should image swatches replace product photos?
Can image swatches have different prices?
Can image swatches update a live preview?
When should I use a color swatch instead?
Why use WowOptions for image swatches?
For a simple stock color variant, Shopify’s native variant tools may be enough. For a custom visual selection that needs to interact with personalization, image swatches become more valuable.
Next step: give every visual choice a stable name, decide whether it controls inventory or customization, and test how that value reaches fulfillment before you focus on styling.